< SHOPWARE FRONTEND EDITING />

Developer's Guide

This guide describes how to make technical enhancements to the Frontend Editing Plugin.

Before your start, make sure that the Frontend Editing Plugin is correctly installed and activated in your Shopware.

If you would like to become familiar with the Frontend Editor, please read the User Guide.

< Create plugin />

In the first step, create a new Shopware plugin in which you want to make the extensions.

For the examples within this tutorial, a plugin named "RopiFrontendEditingExtensions" was created. The complete example plugin can be downloaded here .

< Create content areas />

Since content areas are simple DIV elements, you only need to extend the corresponding Shopware templates to create your own content areas.

Create the template file "RopiFrontendEditingExtensions/src/Resources/views/storefront/page/product-detail/index.html.twig" and insert the example code. Then delete the Shopware cache and navigate via the Frontend Editor to any product detail page. You will now see the new content area above the product title.

The attribute "data-ropi-content-area" marks an HTML element as content area. This allows the HTML element to be filled later with content elements. Each content area must have a unique identifier within a page (in this example the identifier is "myArea").

Within the HTML element the Twig function "ropi_frontend_editing_render_content_area" is called. This function renders later the content elements of the content area in the frontend. Please note that the first parameter must always have the same identifier as the attribute "data-ropi-content-area". The Twig variable ropiFrontendEditingContentDocument is automatically defined by the Frontend Editing Plugin and contains the structure of the content elements that should be rendered in the content area.

Attention: All HTML elements with the attribute "data-ropi-content-area", must be block elements and should not change the CSS properties "margin", "padding", "background", "outline" and "position", because for usability reasons these will be overwritten by the Frontend Editor in edit mode.

{% sw_extends '@Storefront/storefront/page/product-detail/index.html.twig' %}

{% block page_product_detail %}

    <div style="padding:16px;border: solid 1px #ff1493">
        <div data-ropi-content-area="myArea"
             style="/* Styling properties 'margin', 'background', 'outline' and 'position' are not allowed for this element */">
            {{ ropi_frontend_editing_render_content_area('myArea', ropiFrontendEditingContentDocument.structure.children) }}
        </div>
    </div>

    {{ parent() }}
{% endblock %}
The new content area

< Create content elements />

In this example we create a content element called "Hello". First, create a Twig template under the file path "RopiFrontendEditingExtensions/src/Resources/views/content-editor/elements/hello/element.html.twig" .

Please note that templates for content elements always correspond to the file path "{PluginName}/src/Resources/views/content-editor/elements/{element-name}/element.html.twig" . At the root level, content elements must consist of only one HTML element and must have various special attributes defined in order to be recognized correctly by the Frontend Editor. These attributes include, for example, the ID, name, and configurations of the content element. You do not have to define the attributes yourself, you can simply include them using the file "editor-attributes.html.twig". The "general-classes.html.twig" includes some helper classes, which for example are creating the configuration-dependent padding.

The content element should display a greeting and a name, each of which can be configured in the Frontend Editor. Furthermore, the content element contains an editable text with the identifier "someEditableText". If you have several editable texts within a content element, they must have different identifiers.

<div
    {% sw_include '@RopiFrontendEditing/content-editor/elements/common/editor-attributes.html.twig' %}
    class="{% sw_include '@RopiFrontendEditing/content-editor/elements/common/general-classes.html.twig' %}">

    <h4>
    {% if data.configuration.greeting|trim %}
        {{ data.configuration.greeting }}
    {% endif %}

    {% if data.configuration.name|trim %}
        {{ data.configuration.name }}
    {% endif %}
    </h4>

    <h4>The following text is editable:</h4>
    <div data-ropi-content-editable="someEditableText">{{ data.contents.text|raw }}</div>
</div>

Hint: By default, DIV tags are created for paragraphs in editable texts. Since version 1.1.4, the attribute "data-ropi-content-editable-defaultParagraphSeparator" can be used to define which tag should be created for paragraphs (e.g. defaultParagraphSeparator="p" to use P tags instead of DIV tags).

<div data-ropi-content-editable-defaultParagraphSeparator="p" data-ropi-content-editable="someEditableText">{{ data.contents.text|raw }}</div>

Finally, the new content element must be registered in the Frontend Editor. You also need to define the configuration options for this content element.

Since the Frontend Editor is completely based on web components, it can easily be extended via HTML. Therefore, we extend the template file of the Frontend Editor itself. Create the file "RopiFrontendEditingExtensions/src/Resources/views/content-editor/content-editor.html.twig" and fill it with the example source code.

For a better overview, we store the definition of the content element in the file "definition.html.twig" and include it via Twig.

{% sw_extends '@RopiFrontendEditing/content-editor/content-editor.html.twig' %}

{% block content_elements %}

    {{ parent() }}

    {% sw_include '@RopiFrontendEditingExtensions/content-editor/elements/hello/definition.html.twig' %}
{% endblock %}
Create the file "RopiFrontendEditingExtensions/src/Resources/views/content-editor/hello/definition.html.twig" according to the example.

The new content element is registered via a new "ropi-content-element" tag.

The type-attribute must correspond to the scheme "{BundleName}/{ElementName}".

With the attribute "icon" any Material Icon can be defined for the content element.

The "color" attribute specifies the color for the icon and helper lines in the Frontend Editor.

Mit dem Attribut "name" wird der sprechende Name des Inhaltselements festgelegt.

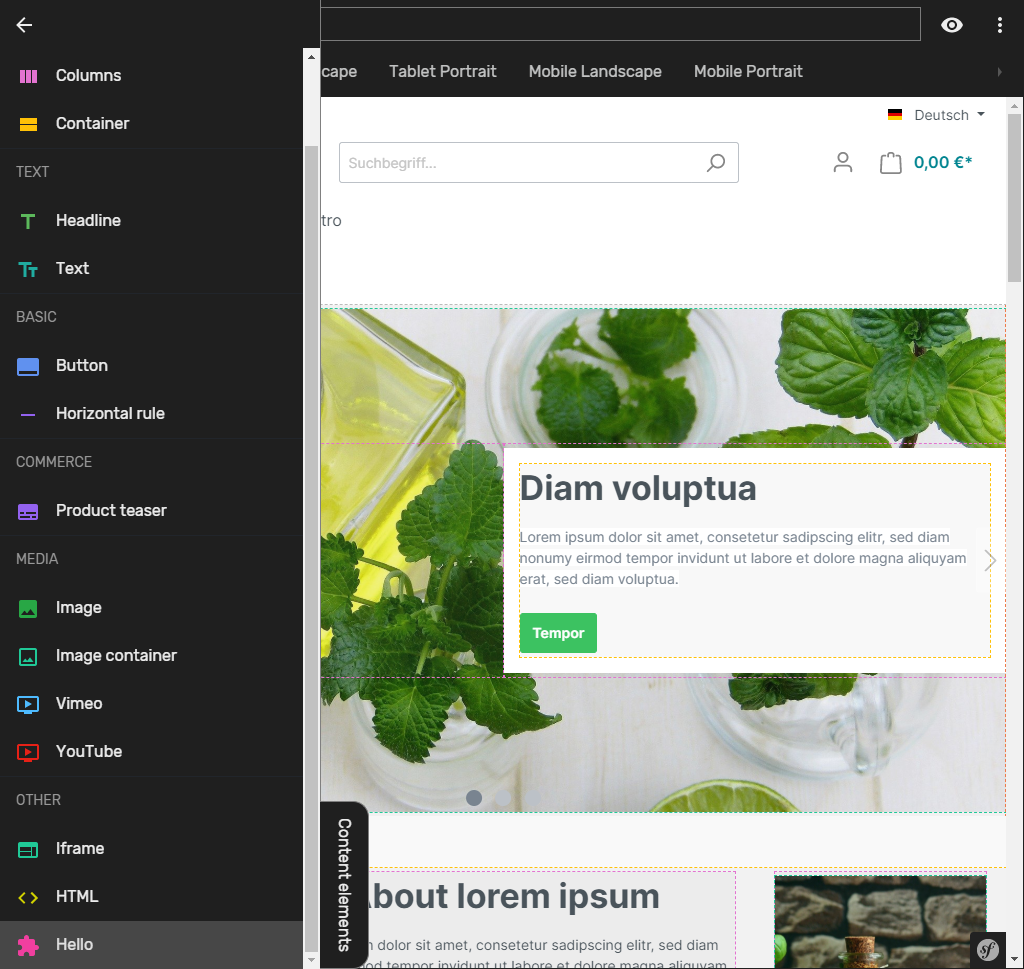
The value for the attribute "group" can be chosen freely and defines under which group the new content element should be listed in the Frontend Editor.

The attribute "name" defines the speaking name of the content element.

In the attribute "languagespecificsettings" a comma separated list of configuration keys can be stored, which are language dependent. These settings would not be overwritten during an import with the option "Keep language-specificsettings". In the example we have set this to "greeting".

For the attribute "src" you should always use "{{ path('ropi.frontend-editing.element.render') }}". The attribute defines which URL is called by the Frontend Editor to render the content element.

Within the "ropi-content-element" tag there must be a "template" tag as child node. This can be filled with any HTML, which defines how the configuration menu for the content element should look like. As with normal HTML forms, it is important that the attribute "name" is set and defined for all input fields. This is because you access the values in the template via the defined identifier. In the example code, the "name" attribute of our greeting text input field has the value "greeting" and thus the configured value can be accessed in the template of the content element via the variable "data.configuration.greeting".
As you can see, some custom tags are used in the example code to make your work easier. You can of course also use ordinary HTML elements. However, if you need complex HTML elements that use JavaScript, you should include them as Web components. To learn more about Web components, click here .
<ropi-content-element
        type="RopiFrontendEditingExtensions/hello"
        icon="extension"
        color="#ff1493"
        group="{% trans %}ropi-frontend-editing.contentElement.definition.group.other{% endtrans %}"
        name="Hello"
        languagespecificsettings="greeting"
        src="{{ path('ropi.frontend-editing.element.render') }}">
    <template>
        <ropi-tabs scrollable tablistposition="bottom">
            <ropi-touchable slot="tab">
                {% trans %}ropi-frontend-editing.contentElement.definition.tab.general{% endtrans %}
            </ropi-touchable>
            <div slot="tabpanel">
                <div class="ropi-margin-h">
                    <ropi-textfield name="name">
                        <div slot="placeholder">Name</div>
                    </ropi-textfield>
                </div>
                <div class="ropi-margin-h">
                    <ropi-textfield name="greeting">
                        <div slot="placeholder">Greeting</div>
                    </ropi-textfield>
                </div>
            </div>
            {% for breakpoint in breakpoints %}
                <ropi-touchable slot="tab">{{ breakpoint.name }}</ropi-touchable>
                <div slot="tabpanel">
                    {% sw_include '@RopiFrontendEditing/content-editor/elements/common/settings/general.html.twig' %}
                </div>
            {% endfor %}
        </ropi-tabs>
    </template>
</ropi-content-element>
Delete the Shopware cache and reload the Frontend Editor. You should now see the new Hello element.

In the directory "RopiFrontendEditing/src/Resources/views/content-editor/elements" you will find the definitions for the standard content elements. Use them as a reference when creating your own content elements. Furthermore, you will see there how the custom tags can be used.
Hello-Element
Each time a content element is rendered, a corresponding event is triggered. This allows you to implement more complex business logic for your content element (e.g. database queries etc.). In the example code you can see how to subscribe to the render event of the Hello element.
<?php declare(strict_types=1);

namespace Ropi\FrontendEditingExtensions\ContentEditor\Renderer\Subscriber;

use Ropi\FrontendEditing\ContentEditor\Renderer\Events\ContentElementRenderEvent;
use Symfony\Component\EventDispatcher\EventSubscriberInterface;

class HelloElementRenderSubscriber implements EventSubscriberInterface
{

    public static function getSubscribedEvents(): array
    {
        return [
            ContentElementRenderEvent::getNameForContentElementType('RopiFrontendEditingExtensions/hello') => 'onRender'
        ];
    }

    public function onRender(ContentElementRenderEvent $event): void
    {
        $configuredName = $event->getParameters()['data']['configuration']['name'] ?? '';
        // Do some complex business logic
        $event->setParameter('processedName', $configuredName);
    }
}
<?xml version="1.0" ?>
<container xmlns="http://symfony.com/schema/dic/services"
           xmlns:xsi="http://www.w3.org/2001/XMLSchema-instance"
           xsi:schemaLocation="http://symfony.com/schema/dic/services http://symfony.com/schema/dic/services/services-1.0.xsd">

    <services>
        <service id="Ropi\FrontendEditingExtensions\ContentEditor\Renderer\Subscriber\HelloElementRenderSubscriber">
            <tag name="kernel.event_subscriber"/>
        </service>
    </services>
</container>

< Document Context />

Have you ever wondered how the Frontend Editing Plugin creates the relation between a page and the content elements? This is done via the so-called Document Context.

Navigate to a category page in the Frontend Editor. In the Frontend Editor, use the developer tools of your browser to inspect the body tag of the shop page. You will see the attribute "data-ropi-document-context" there. This attribute contains a JSON that tells the Frontend Editor for which page the content elements are to be saved. The JSON properties "salesChannelId", "bundle", "controller", "action" and "languageId" are always set by the Frontend Editor Plugin by default. For category pages not only the controller action, the sales channel and the language is relevant, but also which concrete category is currently displayed. In the example JSON the property "subcontext" contains the ID of the called category.

data-ropi-document-context="{"salesChannelId":"9dde3e8a00f841f487aebdacc64dfe04","bundle":"ShopwareStorefront","controller":"Navigation","action":"index","languageId":"2fbb5fe2e29a4d70aa5854ce7ce3e20b","subcontext":"a515ae260223466f8e37471d279e6406"}"

If you want to enable frontend editing on an additional or custom controller, you must register a subscriber for two events. In the example code, events have been implemented for the detail page of a fictitious news controller.

In the DocumentContextBuildEvent the "subcontext" is defined with the ID of the news. Thus, individual content elements can be created for each news. If we would not do this, the content would only be maintainable globally for all news, because the DocumentContext would be identical for each news.

With the DocumentContextBuildUrlEvent the route to a news detail page is built using a DocumentContext. This is used for automatic cache invalidation when content is published on a news detail page using the frontend editor.If we did not implement the event handling, the cache would always have to be deleted manually after publishing the content to make the changes visible in the frontend.

<?php declare(strict_types=1);

namespace Ropi\FrontendEditingExtensions\ContentEditor\DocumentContext\Subscriber;

use Ropi\FrontendEditing\ContentEditor\DocumentContext\Events\DocumentContextBuildEvent;
use Ropi\FrontendEditing\ContentEditor\DocumentContext\Events\DocumentContextBuildUrlEvent;
use Symfony\Component\EventDispatcher\EventSubscriberInterface;

class NewsShowDocumentContextSubscriber implements EventSubscriberInterface
{

    public static function getSubscribedEvents(): array
    {
        return [
            DocumentContextBuildEvent::getNameForControllerAction('BundleName', 'News', 'show') => 'onBuild',
            DocumentContextBuildUrlEvent::getNameForControllerAction('BundleName', 'News', 'show') => 'onBuildUrl'
        ];
    }

    public function onBuild(DocumentContextBuildEvent $event): void
    {
        $event->getDocumentContext()['subcontext'] = $event->getRequest()->get('newsId');
    }

    public function onBuildUrl(DocumentContextBuildUrlEvent $event): void
    {
        $event->setRoute('news.show.action');

        if (isset($event->getDocumentContext()['subcontext'])) {
            $subcontext = $event->getDocumentContext()['subcontext'];
            $event->setParameters(['newsId' => $subcontext]);
        }
    }
}

< Presets />

Since version 1.2.2 presets can be added directly by extending the template {ShopwarePath}/plugins/custom/RopiFrontendEditing/src/Resources/views/content-editor/content-editor.html.twig. To do this, you can simply add corresponding "ropi-content-preset" elements to the "content_presets" template block. These should be marked with the attribute "readonly" so that they cannot be deleted by users.

{% block content_presets %}

    {{ parent() }}

    <ropi-content-preset readonly name="My hardcodet Headline Preset" time="1612436532008" type="
{
   &quot;type&quot;:&quot;element&quot;,
   &quot;meta&quot;:{
      &quot;type&quot;:&quot;RopiFrontendEditing/headline&quot;
   },
   &quot;configuration&quot;:{
      &quot;level&quot;:&quot;1&quot;,
      &quot;padding&quot;:{
         &quot;b&quot;:{
            &quot;lg&quot;:&quot;inherit&quot;,
            &quot;md&quot;:&quot;inherit&quot;,
            &quot;sm&quot;:&quot;inherit&quot;,
            &quot;xl&quot;:&quot;default&quot;,
            &quot;xs&quot;:&quot;inherit&quot;
         },
         &quot;l&quot;:{
            &quot;lg&quot;:&quot;inherit&quot;,
            &quot;md&quot;:&quot;inherit&quot;,
            &quot;sm&quot;:&quot;inherit&quot;,
            &quot;xl&quot;:&quot;default&quot;,
            &quot;xs&quot;:&quot;inherit&quot;
         },
         &quot;r&quot;:{
            &quot;lg&quot;:&quot;inherit&quot;,
            &quot;md&quot;:&quot;inherit&quot;,
            &quot;sm&quot;:&quot;inherit&quot;,
            &quot;xl&quot;:&quot;default&quot;,
            &quot;xs&quot;:&quot;inherit&quot;
         },
         &quot;t&quot;:{
            &quot;lg&quot;:&quot;inherit&quot;,
            &quot;md&quot;:&quot;inherit&quot;,
            &quot;sm&quot;:&quot;inherit&quot;,
            &quot;xl&quot;:&quot;default&quot;,
            &quot;xs&quot;:&quot;inherit&quot;
         }
      },
      &quot;textColor&quot;:&quot;default&quot;,
      &quot;appearance&quot;:&quot;&quot;,
      &quot;visibility&quot;:{
         &quot;lg&quot;:&quot;&quot;,
         &quot;md&quot;:&quot;&quot;,
         &quot;sm&quot;:&quot;&quot;,
         &quot;xl&quot;:&quot;&quot;,
         &quot;xs&quot;:&quot;&quot;
      }
   },
   &quot;contents&quot;:{
      &quot;text&quot;:&quot;&lt;div style=\&quot;text-align: center;\&quot;&gt;About lorem ipsum&lt;/div&gt;&quot;
   },
   &quot;children&quot;:[
      
   ]
}"></ropi-content-preset>

{% endblock %}